
What Is Dust-Controlled Tile Removal, and Is It Really Dust-Free?
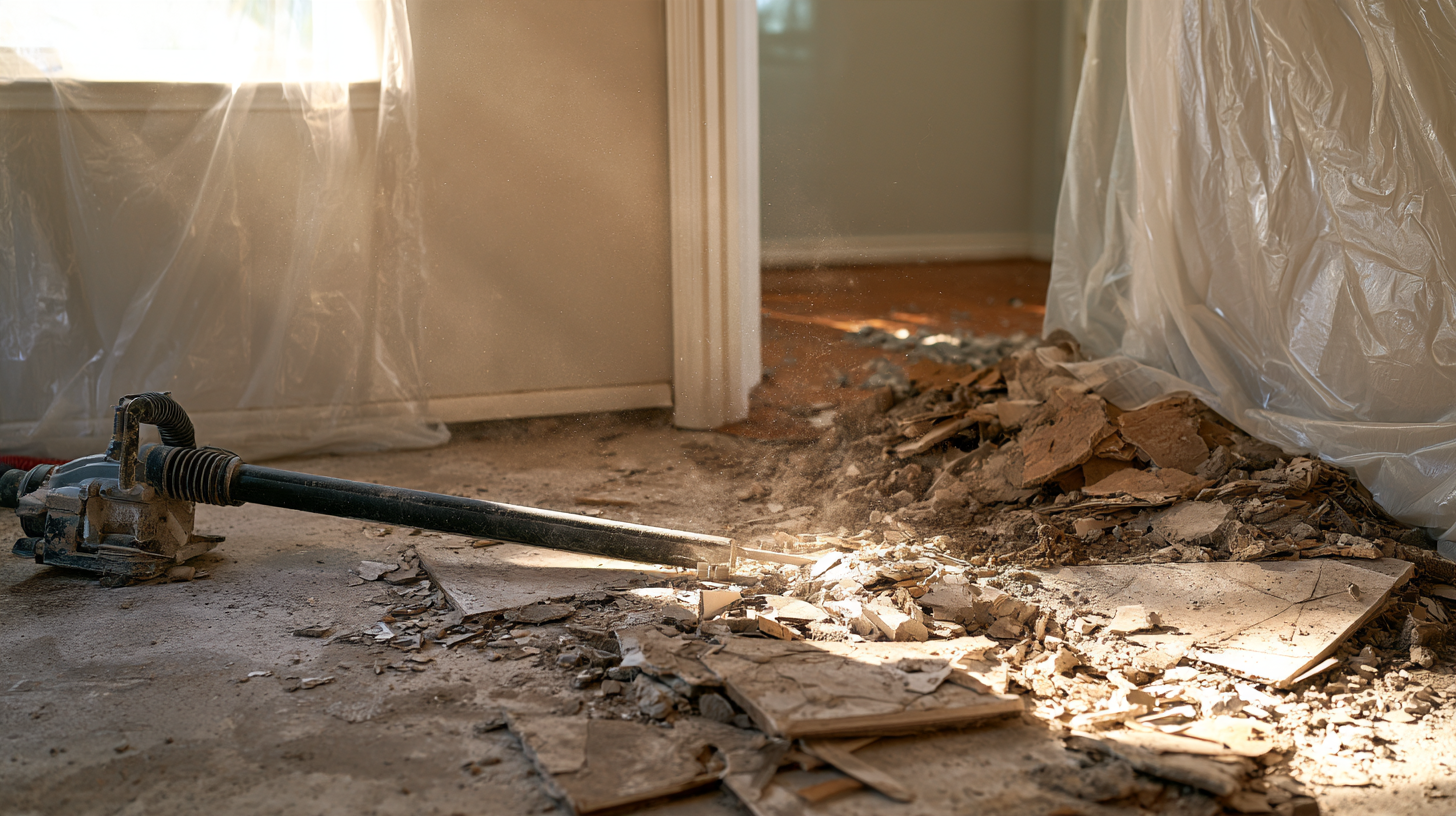
Old tile can be stubborn. Removing it means breaking through tile and mortar, then preparing the surface below, all activities that can release fine debris if the work is not managed properly.
That is why homeowners often ask about “dustless” tile removal. Professional dust-control systems can make a dramatic difference, but no demolition process should be described as producing absolutely zero dust. A more accurate term is dust-controlled tile removal.
Why Does Tile Removal Create So Much Dust?
A tile floor is a layered system. The crew must remove the tile and address the mortar or thinset that bonded it to the slab or underlayment.
Breaking tile creates sharp fragments and coarse debris. Chipping, scraping, or grinding mortar can produce finer particles. Dust may also come from grout, concrete preparation, and movement of demolished material through the home.
The amount varies according to:
- The tile material, size, and thickness.
- The strength and depth of the mortar bed.
- Whether the tile is installed over concrete or wood framing.
- The tools and removal equipment used.
- The amount of grinding or surface preparation required.
- The room layout and available equipment access.
What Does Dust-Controlled Tile Removal Mean?
Dust-controlled removal combines appropriate equipment, vacuum collection, containment, frequent cleanup, and careful debris handling. The goal is to capture dust near the point where it is created and keep demolition residue from spreading throughout the home.
Depending on the project, the setup may include:
- Removal tools connected to professional vacuum equipment.
- Temporary barriers separating the work area.
- Protection for nearby doors, walls, trim and walkways.
- A debris route that limits traffic through finished rooms.
- Frequent collection instead of allowing piles to accumulate.
- Final cleaning after tile, mortar, and loose residue are removed.
The exact system should match the size of the job, the home’s layout, and the material being removed.
Is Dustless Tile Removal Completely Dust-Free?
No responsible contractor can promise that demolition will create literally no dust. Doors open, debris is moved, equipment travels through the space, and some fine material may escape even with strong controls.
The practical difference is containment. Controlled removal should create far less airborne and settled dust than uncontrolled breaking, dry grinding, or casual DIY cleanup.
Homeowners should ask what tools will be used, how vacuums are maintained, how nearby spaces will be protected, and what final cleanup is included.
Why Containment Matters
Fine dust does not always stay in the room where demolition happens. It can move through open doors, settle on nearby surfaces, or travel along common paths used by workers.
Containment creates a defined work zone. Closing off adjacent spaces, controlling traffic, and protecting appropriate openings helps reduce migration.
The plan should also account for people and pets. They should remain away from demolition areas, equipment, sharp debris, and active haul-out paths.
What Happens to the Tile and Mortar?
Professional tile removal includes more than breaking the visible tile. The crew collects the fragments, removes the underlying mortar as required, and hauls the debris away.
Tile is heavy, so the removal route matters. Doorways, corners, thresholds, and exterior paths may need protection. Debris should be moved in manageable loads rather than dragged across finished surfaces.
After the tile is gone, the slab or subfloor is inspected. The crew can then identify remaining thinset, cracks, low areas, moisture signs, or damage that could affect the replacement flooring.
Will the Slab Be Ready for New Flooring?
That depends on what “ready” means for the selected product. A surface prepared for floating LVP may not require the same finish as one intended for new tile or glue-down hardwood.
The project may need additional scraping, grinding, patching, cleaning, or leveling. The contractor should compare the exposed surface with the new flooring manufacturer’s requirements before installation begins.
Dust-controlled removal and surface preparation work together. Capturing demolition dust is important, but the final goal is a sound, clean, and appropriately prepared substrate.
How Should You Prepare Your Home?
Before removal day:
- Clear furniture, decorations, and personal items from the work zone.
- Confirm responsibility for appliances, toilets, and baseboards.
- Identify the path crews will use for equipment and debris.
- Keep pets and children away from the work area.
- Ask how nearby rooms and surfaces will be protected.
- Discuss whether you can remain in the home during the work.
If anyone in the household has health sensitivities, raise that concern before scheduling so the contractor can explain the proposed controls and whether additional precautions are appropriate.
Ask About the Complete Removal Process
Do not judge a tile-removal proposal by demolition speed alone. Ask what happens to the mortar, debris, and exposed slab after the tile comes up. Curious about price? See our tile removal cost guide.
On Point Flooring provides dustless tile removal and professional tile flooring installation across Greater Sacramento. The team handles debris haul away, adhesive and mortar removal, and concrete preparation as part of the removal process. Get your tile removal price to evaluate your existing tile and discuss the next floor.