
What Happens During Professional Floor Removal? A Step-by-Step Guide
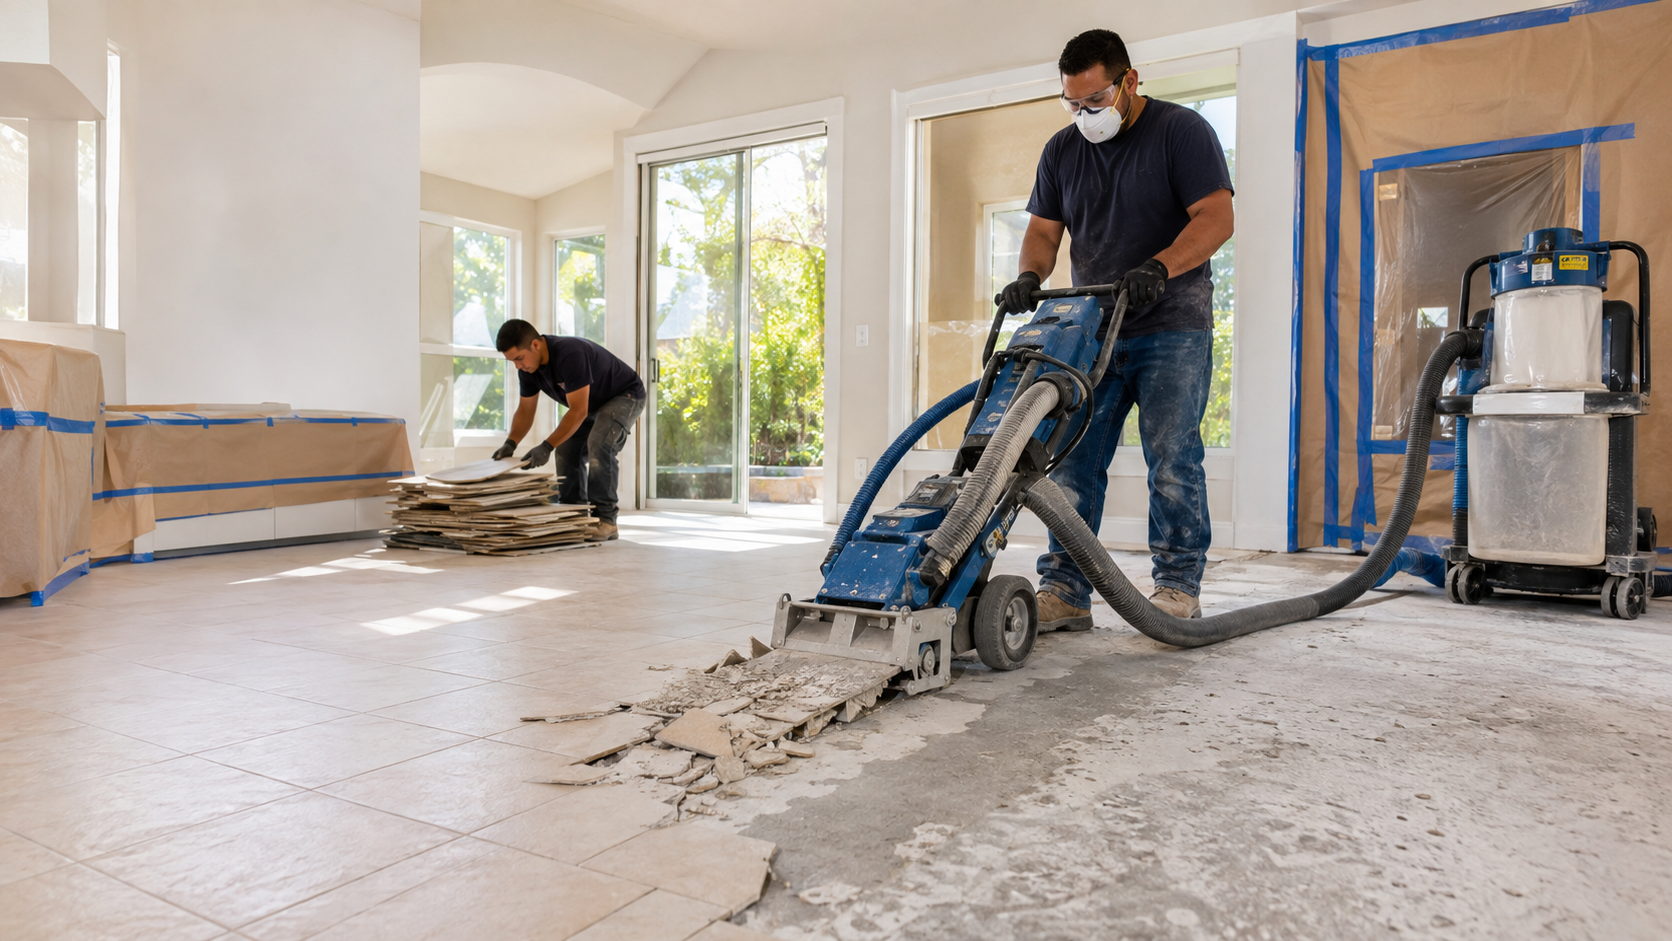
Replacing a floor is exciting. Removing the old one usually is not. It can be noisy, physical, and messy, and what is underneath the finished material is not always predictable.
That is why professional floor removal involves more than pulling up boards or breaking tile. The goal is to remove the existing material efficiently, control dust and debris, protect the surrounding home, and leave the slab or subfloor ready for whatever comes next.
Here is what Sacramento-area homeowners can expect from the process.
Step 1: The Existing Floor Is Evaluated
A professional crew begins by identifying the flooring material, installation method, total area, access points, and visible problem areas. Tile set in mortar requires a different approach than carpet, floating LVP, nail-down hardwood, or glue-down vinyl.
The assessment also looks at:
- Whether the floor has more than one layer.
- How strongly the material is bonded.
- Whether stairs, cabinets, or built-ins affect access.
- Where flooring transitions into nearby rooms.
- Whether the home is occupied during the project.
- What new flooring will be installed afterward.
This information helps the contractor select the right equipment, crew size, containment plan, and preparation method.
Step 2: The Work Area Is Prepared
Furniture and movable belongings need to be cleared from the removal area. Depending on the project, nearby rooms may be separated with temporary barriers, and sensitive items should be moved away from the work zone.
The crew also plans how removed flooring will travel out of the house. Protecting walls, doorways, thresholds, and exterior paths is especially important when heavy tile, broken mortar, or large volumes of debris are involved.
Homeowners should discuss appliance movement, toilets, baseboards, transitions, and occupied areas before work begins so everyone knows what is included.
Step 3: Dust-Control Measures Are Put in Place
No demolition process is literally dust-free, but professional equipment and containment can dramatically reduce airborne debris compared with uncontrolled DIY removal.
The exact setup depends on the material. Tile, thinset, adhesive, and concrete grinding generally create more fine dust than carpet or floating plank removal. Crews may use vacuum-connected tools, localized containment, air management, and frequent debris collection.
Closing nearby doors, protecting HVAC returns where appropriate, and keeping people and pets away from the work zone also help maintain a cleaner and safer project.
Step 4: The Old Flooring Is Removed
Once the room is ready, the crew removes the flooring using methods suited to the material.
Carpet is cut into manageable sections before the padding, staples, and tack strips are removed. Floating LVP or laminate can often be unlocked and lifted in sections. Hardwood may be nailed, stapled, or glued, which changes the equipment and effort required.
Tile removal involves breaking and lifting the tile while working through the mortar or thinset below. Glue-down materials are often the most demanding because the flooring and adhesive must both be separated from the substrate.
OP Remodel uses professional removal equipment, including ride-on demolition machinery when appropriate for the space and material.
Step 5: Debris Is Collected and Hauled Away
Removal creates more waste than many homeowners expect. Broken tile, old carpet, wood, adhesive, underlayment, and packaging can quickly fill a room.
Professional floor removal includes a plan for collecting, moving, loading, and hauling away that debris. Keeping waste under control throughout the project makes the work area safer and allows the crew to see which sections still need attention.
This is one of the biggest differences between a complete removal service and a basic tear-out. The job is not finished when the flooring is loose; the old material needs to be out of the home and properly handled.
Step 6: Adhesive and Underlayment Are Removed
After the visible flooring is gone, adhesive, thinset, mortar, staples, tack strips, or underlayment may remain. These materials can prevent a new floor from lying flat or bonding properly.
The crew may scrape, grind, chip, or mechanically remove residue depending on the substrate and the planned installation. Care is needed to remove what is necessary without causing avoidable damage to the concrete or wood below.
Older or unfamiliar materials should be evaluated before they are disturbed. If a material may require specialized testing or handling, the contractor should pause and recommend the appropriate next step.
Step 7: The Slab or Subfloor Is Inspected
With the old layers removed, the actual condition of the substrate becomes visible. The crew may find cracks, low spots, moisture staining, damaged plywood, loose panels, raised fasteners, or areas that need patching.
Not every imperfection requires the same repair. The selected replacement flooring determines how flat, dry, smooth, and structurally stable the surface must be.
This inspection is valuable because covering a problem does not solve it. Addressing the substrate before installation helps prevent clicking planks, separated joints, cracked tile, hollow spots, and visible irregularities.
Step 8: The Surface Is Prepared for Installation
The final step is leaving the area ready for the new flooring. Depending on the project, that may include final adhesive removal, concrete grinding, patching, cleaning, or identifying leveling and repair work that should happen next.
If the same contractor handles removal and installation, the handoff is simpler. The team already understands what was removed, what conditions were found, and what preparation the new material requires.
How Should Homeowners Prepare?
Before removal day:
- Clear furniture and personal items from the work area.
- Confirm who will move appliances and plumbing fixtures.
- Discuss access, parking, pets, children, and occupied rooms.
- Ask what dust-control and cleanup measures will be used.
- Confirm whether installation and subfloor repairs are included separately.
A clear plan helps the project move faster and prevents last-minute confusion.
From Old Floor to Installation-Ready Surface
Professional floor removal is really a preparation service. Successful work protects the home, removes the full flooring system, controls debris, exposes hidden conditions, and creates a dependable starting point for the new floor.
OP Remodel provides Floor Removal Services for tile, hardwood, carpet, vinyl, and glue-down materials across Sacramento, Placer, and El Dorado counties. The team also offers Flooring Installation Services when homeowners want one point of contact from demolition through the finished floor. Book a Free Flooring Assessment to discuss your existing floor and project timeline.